1947 Marconi C10A
Radio Restoration
|
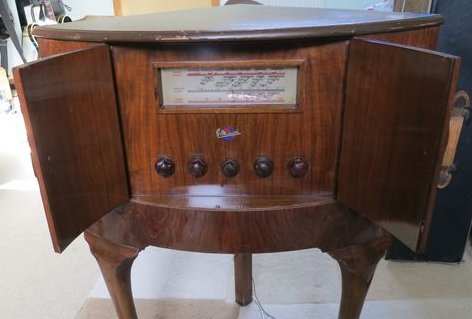
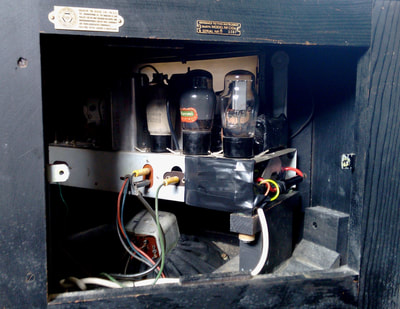
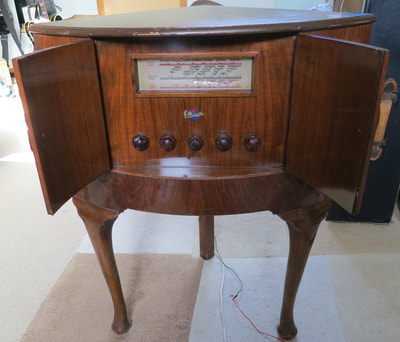
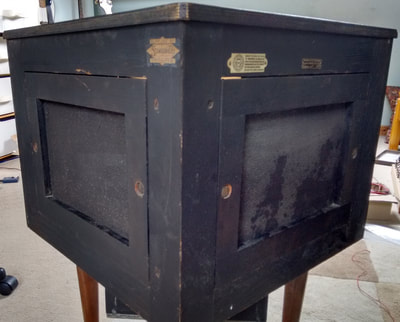
My mum bought an old corner unit from a neighbour, just as a piece of furniture, and was considering turning it into a cocktail cabinet. Of course that wasn't going to happen once I had a look inside. All original never, been touched, what a nice little project for mum's 80th Birthday! I found a schematic online very easily and took it with me on my next visit.
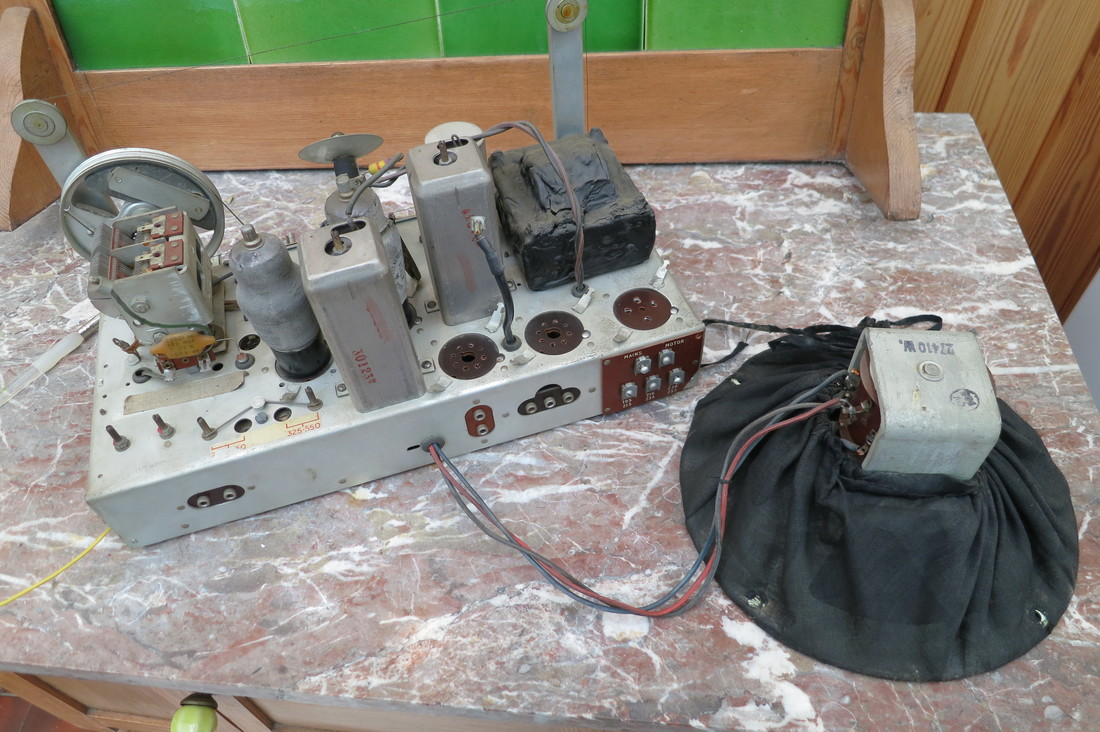
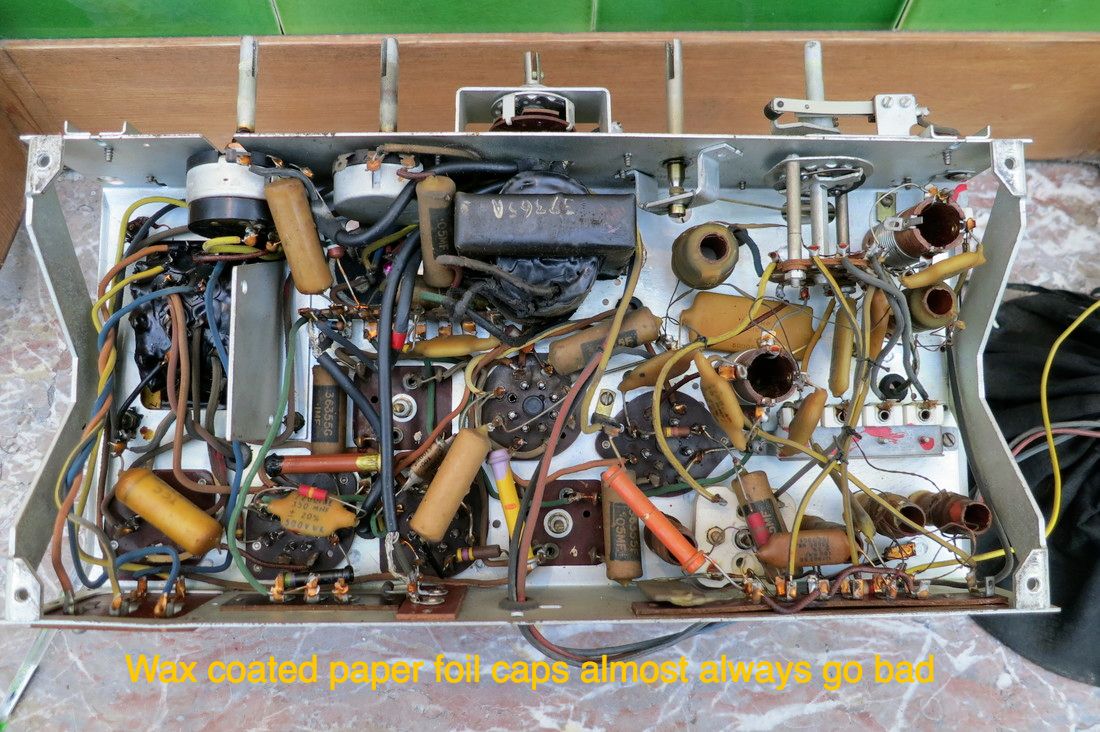
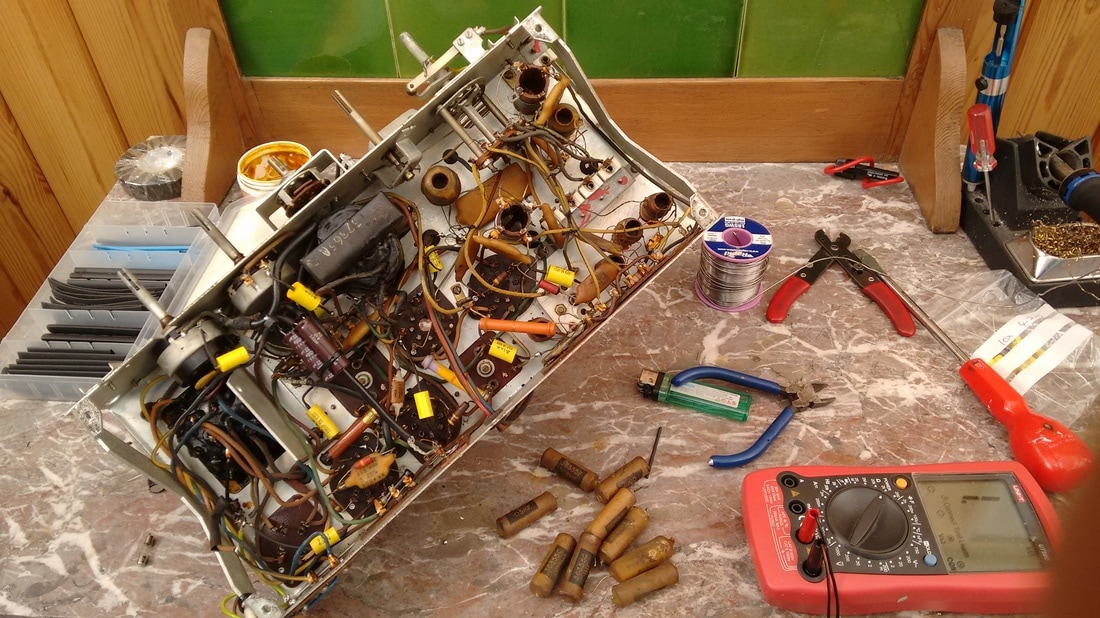
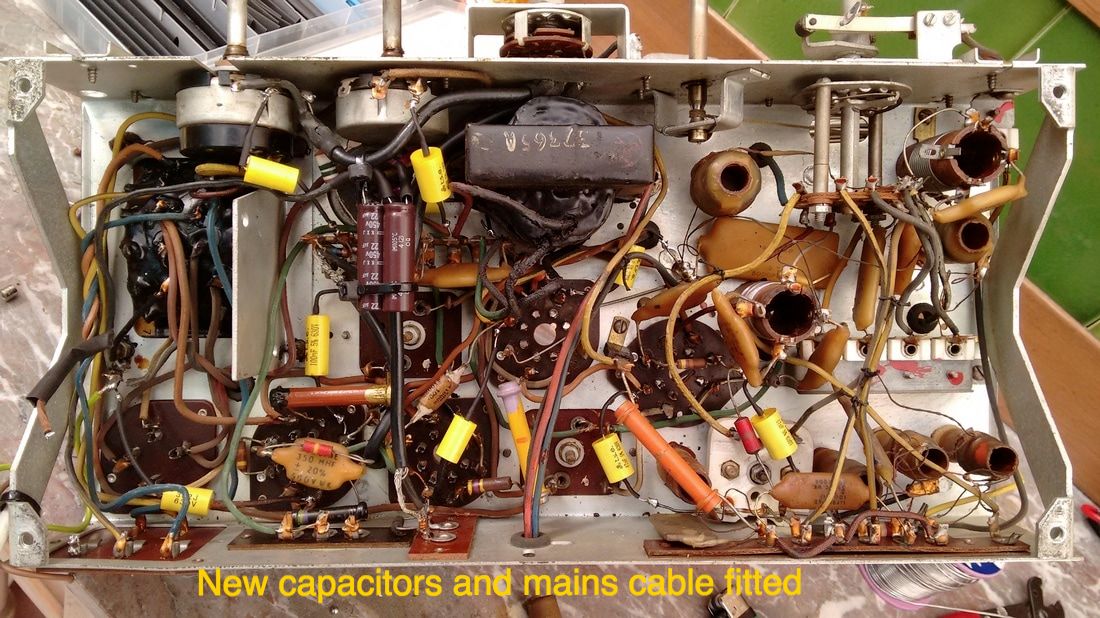
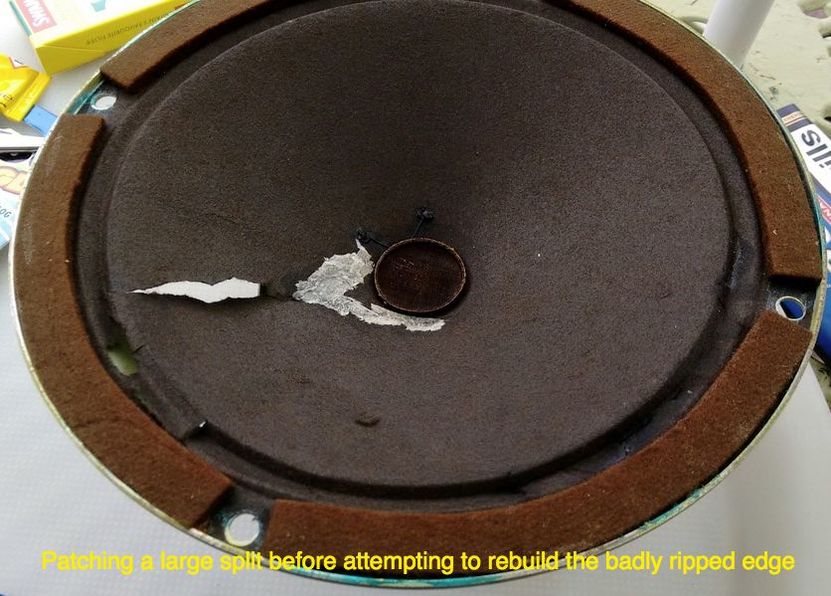
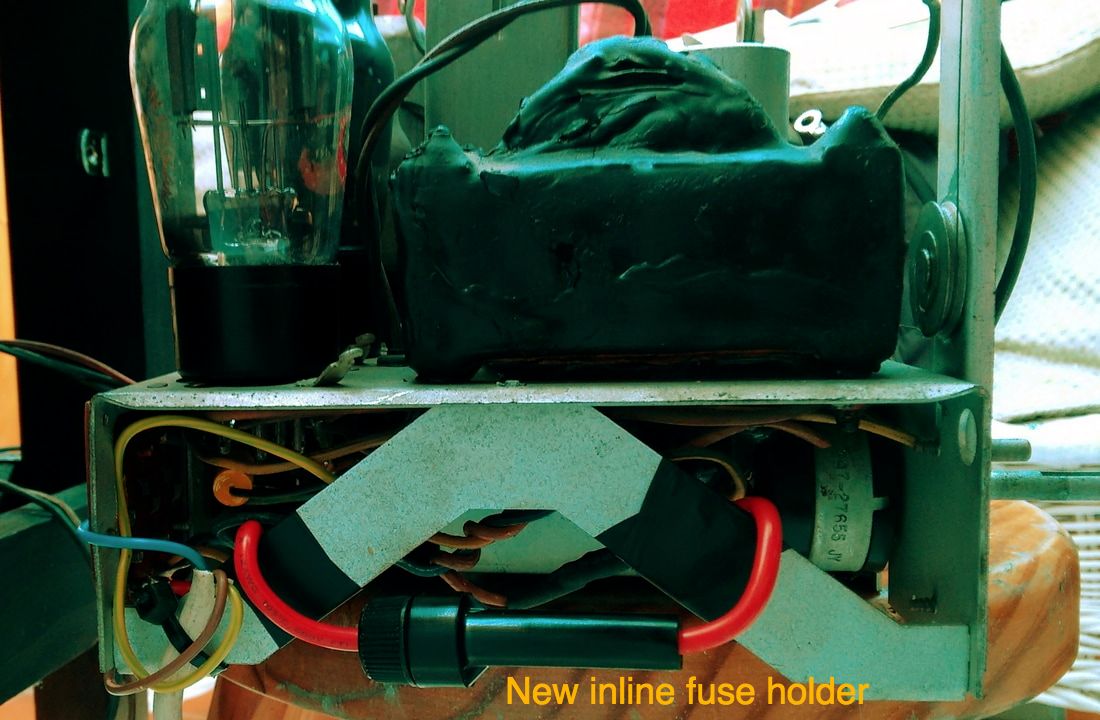
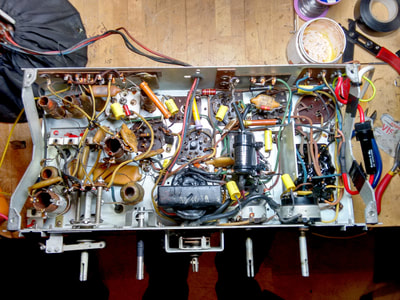
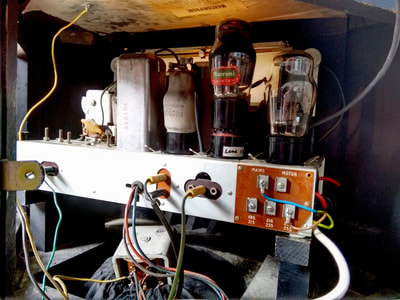
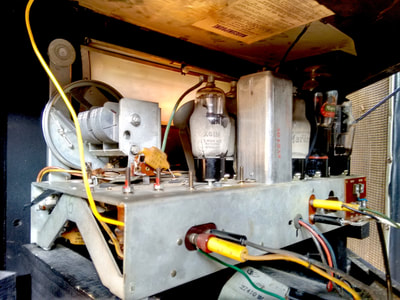
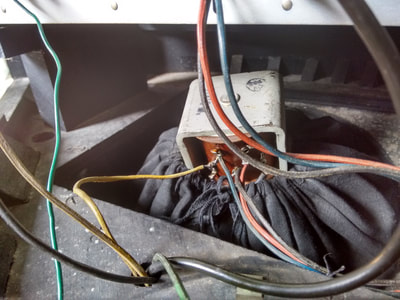
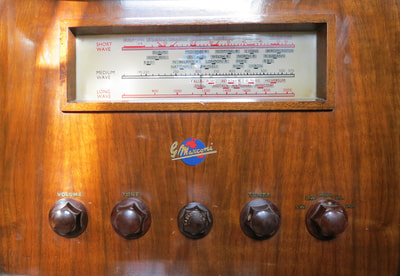
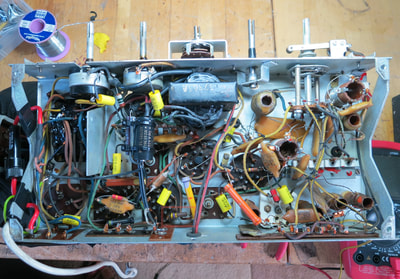
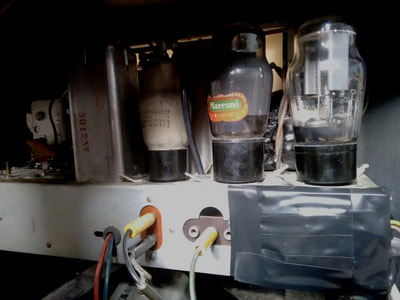
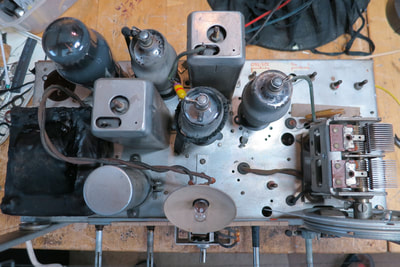
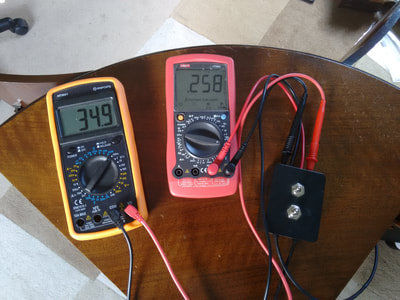
With difficulty, I took out the chassis and speaker, which were attached by an umbilical cord, and with the aid of a schematic and components list, noted down all the components that would need changing. Basically all those wax covered cigar capacitors and the main filter caps. I tested all the resistors and to my amazement they were all to spec! Obviously the wiring needed a thorough check over and to my surprise all the rubber covered wires was in excellent shape. It was all very fexible and with no sign of any splitting. Not bad for a 1947 piece! A multimeter established the mains transformer and speaker mounted choke were fine, as was the OT. All the valves checked ok though the power valve, a KT61 was weak. I sprayed out the pots and managed to get the on/off switch on the tone control working. It was showing various high and unstable resistances which may have been why the radio stopped working 40 or 50 years ago. Next I fitted a new 3 wire mains cable and plug. There was no internal fuse so I soldered one in as a temporary measure. The main filter cap had a bad section so I disconnected it and tied in some replacements under the chassis. After another thorough check over I plugged it into the current limiter and fired her up. The panel light came on, the valve filaments started to glow, then it crackled into life. I found a station, then another, turned up the volume and mum came through with an amazed look on her face! So it worked, but there was a fair bit of distortion due to leaky coupling caps no doubt. After careful consideration we agreed the radio could be played occasionally as long as it wasn't left unattended and was always unplugged when not in use. If anything did short out the fuse would immediately blow so no risk there. If something started smelling bad she would turn it off and it would stay off. A couple of weeks later the radio had stopped working, but mum informed me of some strange behaviour the radio had displayed. In particular, it would start playing and after a minute or two would drop in volume and be more distorted. On my next trip down south I had all the parts along with an array of tools and set about the job in the conservatory. Needless to say, the chassis and speaker came out a little easier this time. After changing all the wax caps one by one, using the old Phillips method of connecting the old wires to the new leads by looping one end, and satisfying myself that all was well and good, I moved on to the tuning cord which had broken. I didn't have any proper cord but we scavenged around and mum came back with some curtain thread; the stuff you pull on to gather up the top of the curtain. It did the trick ok but it might start to fray with use. Lastly, I took out the blown, temporary fuse and installed an in-line fuse holder where it could be easily accessed. So once more, with speaker and chassis safely back inside the cabinet, I started the 70 year old radio up with the current limiter. To my horror there was no output, not even hum, just silence. The limiter bulb was barely glowing so I put full mains on. Still there was silence, so once more I took it all apart and checked my work again. No problem there. I rigged up temporary leads to connect the chassis and speaker to the control panel on the back of the cabinet so I could switch it back on again and take some more voltage measurements. Still nothing amiss. That is when I took a closer look at the glass bottles and noticed there was no filament glowing on the power valve! That was the cause of the fuse blowing, no doubt a dead short between filament and most likely the cathode! I didn't put the chassis and speaker back this time, I was too disappointed, so it got stored away in a deep drawer. I thought I would replace the cord with some proper stuff next time. Back home, and with internet access, I tracked down a replacement KT61 to install on my next visit. I bought some proper tuning cord too. Unfortunately on my next journey down south, to my dismay, I noticed the speaker cone was very badly damaged! I couldn't believe it, and was sure it was alright before. Had someone been fiddling with it? Had I done it accidentally? Had it blown out when the power valve shorted and blew the fuse? It's still a mystery but I had to repair it. Where would I find another one or get it re-coned? When I'm working in my lab at home I have just about everything I need to repair stuff with. Working away involves scavenging whatever you need and improvising. The fragile, out of shape paper cone was first "tacked" together in places with super glue to try and reshape it. Then small pieces of bog roll dipped in diluted PVA were carefully positioned in key places and the edges of the cone pushed up from behind to make contact. Various devices were used to keep these parts in position whilst warm air from a hair dryer quickened the hardening process. After several such sessions the cone gradually took on a more natural shape and the edge was whole again. Obviously it was now reinforced and would not move as freely, and it might not sound as good, but hopefully it would still work well enough to enjoy listening. As it's positioned face down in the bottom of the cabinet and inside a black cloth bag, no one will ever see the unsightly white patchwork repair. Well after all that extra work I couldn't be bothered to replace the tuning cord. I'd wait and see. If the curtain cord held up, who's going to know? Anyway, my mum loves the radio and has it playing every night, as she frequently tells me. It's been going for well over a year with no issues so I guess it's a decent restoration. The friend she bought it from is happy too because he and his siblings used to listen to it as children until his father put it away in the loft to stop them playing with it. I suspect it had developed a fault around 50 years ago and hence the fiddling. Many years later it was just a piece of familiar furniture in the living room until they bought a smaller house and had to part with it. I'm happy too because breathing new life into ancient gear is something I get a big kick out of and it's made other people smile too! Thanks for getting here! |
1947 Marconi C10A Radio Restoration
Part 2
Had another look at my mum's Marconi C10A corner unit radio from 1947. I restored it to working order about 18 months ago but it died again last month! It also needed a new dial cord and one capacitor changing for a lower value one.
WARNING! These are an absolute pig to work on!
Because my mum lives a long way away, I took a freshly purchased Marconi KT61 down there last week, thinking it the most likely thing to have failed. Unfortunately a quick valve swap later and it still wouldn't play.
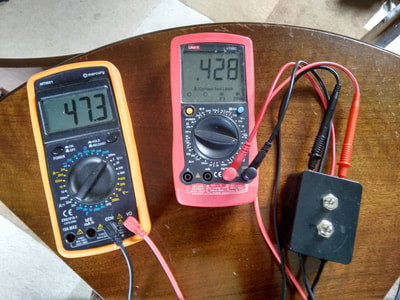
The plate voltage on the OP valve read very low, around 100V, so I guessed it was a faulty U10 rectifier valve. I decided to bring the whole unit home so I could check it over properly. This is what strangely happened.....
Put the old rectifier back in for laughs - the damned thing works fine now, we have the correct voltages, and the KT61 is much happier dissipating 9 Watts. I still dont understand why I only got 100 V on HT on the KT61 before replacing that 470K plate resistor on the DH63M.
So, did I spent £££ on valves I didn't really need, when all I needed to do was replace a couple of 15p resistors? Not really. When troubleshooting, one of the first and easiest thing to do is substitute suspect valves with known good ones. I just didn't have any of these rarer ones to hand. Now I have them in stock.
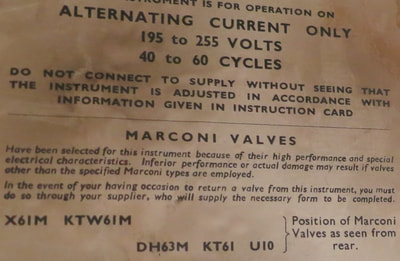
Another lesson here shows up in the final picture, of the label stuck under the top of the radio cabinet. "Only use Marconi valves!"
This is especially true of the rectifier, as the original Marconi U10 rectifier has a low voltage output (hence it looked bad on my tester). The only available tube I could afford was a military version, that kicks out 160V more than the Marconi, and is closer to the more powerful U12! That kind of over-voltage could cause some damage alright, and sceptical old me just thought Marconi was saying that to keep their competitors out the picture.
Anyway, the radio is working better than ever now so mum can enjoy it again for an hour in the evenings.
WARNING! These are an absolute pig to work on!
Because my mum lives a long way away, I took a freshly purchased Marconi KT61 down there last week, thinking it the most likely thing to have failed. Unfortunately a quick valve swap later and it still wouldn't play.
The plate voltage on the OP valve read very low, around 100V, so I guessed it was a faulty U10 rectifier valve. I decided to bring the whole unit home so I could check it over properly. This is what strangely happened.....
- Tested the old rectifier in my valve tester - it was very weak.
- Ordered a NOS Military spec. U10 made in England by GEC, costing £30 + postage.
- Put it in and only got a very weak and distorted output.
- Traced a bad 470k resistor which had gone more or less open circuit. It had been to spec. 18 months ago. Just goes to show how unreliable old carbon comps are.
- Replaced that, and another 1 Meg resistor which had strayed out.
Put the old rectifier back in for laughs - the damned thing works fine now, we have the correct voltages, and the KT61 is much happier dissipating 9 Watts. I still dont understand why I only got 100 V on HT on the KT61 before replacing that 470K plate resistor on the DH63M.
So, did I spent £££ on valves I didn't really need, when all I needed to do was replace a couple of 15p resistors? Not really. When troubleshooting, one of the first and easiest thing to do is substitute suspect valves with known good ones. I just didn't have any of these rarer ones to hand. Now I have them in stock.
Another lesson here shows up in the final picture, of the label stuck under the top of the radio cabinet. "Only use Marconi valves!"
This is especially true of the rectifier, as the original Marconi U10 rectifier has a low voltage output (hence it looked bad on my tester). The only available tube I could afford was a military version, that kicks out 160V more than the Marconi, and is closer to the more powerful U12! That kind of over-voltage could cause some damage alright, and sceptical old me just thought Marconi was saying that to keep their competitors out the picture.
Anyway, the radio is working better than ever now so mum can enjoy it again for an hour in the evenings.

